

Healthy gluten free corn fritters made with cheese, herbs, and buckwheat flour are a childhood classic! Serve with yoghurt for a delicious snack or as part of a meal.

Growing up, my grandma always made me corn fritters as an afternoon snack. So I had to make a gluten-free version to take me back to my childhood!
These gluten-free corn fritters have a yummy, slightly sweet flavour from the sweet corn, combining wonderfully with the savoury notes of cheddar cheese and fresh herbs. To make them gluten free we use buckwheat flour, which is a hearty grain that's easy to find in supermarkets.
Plus, when topped with a little paprika yogurt, they're a chef's kiss. These fritters make a great healthy snack or weeknight meal when served with a poached egg and a side salad. They also freeze really well too.

Ingredients you’ll need:
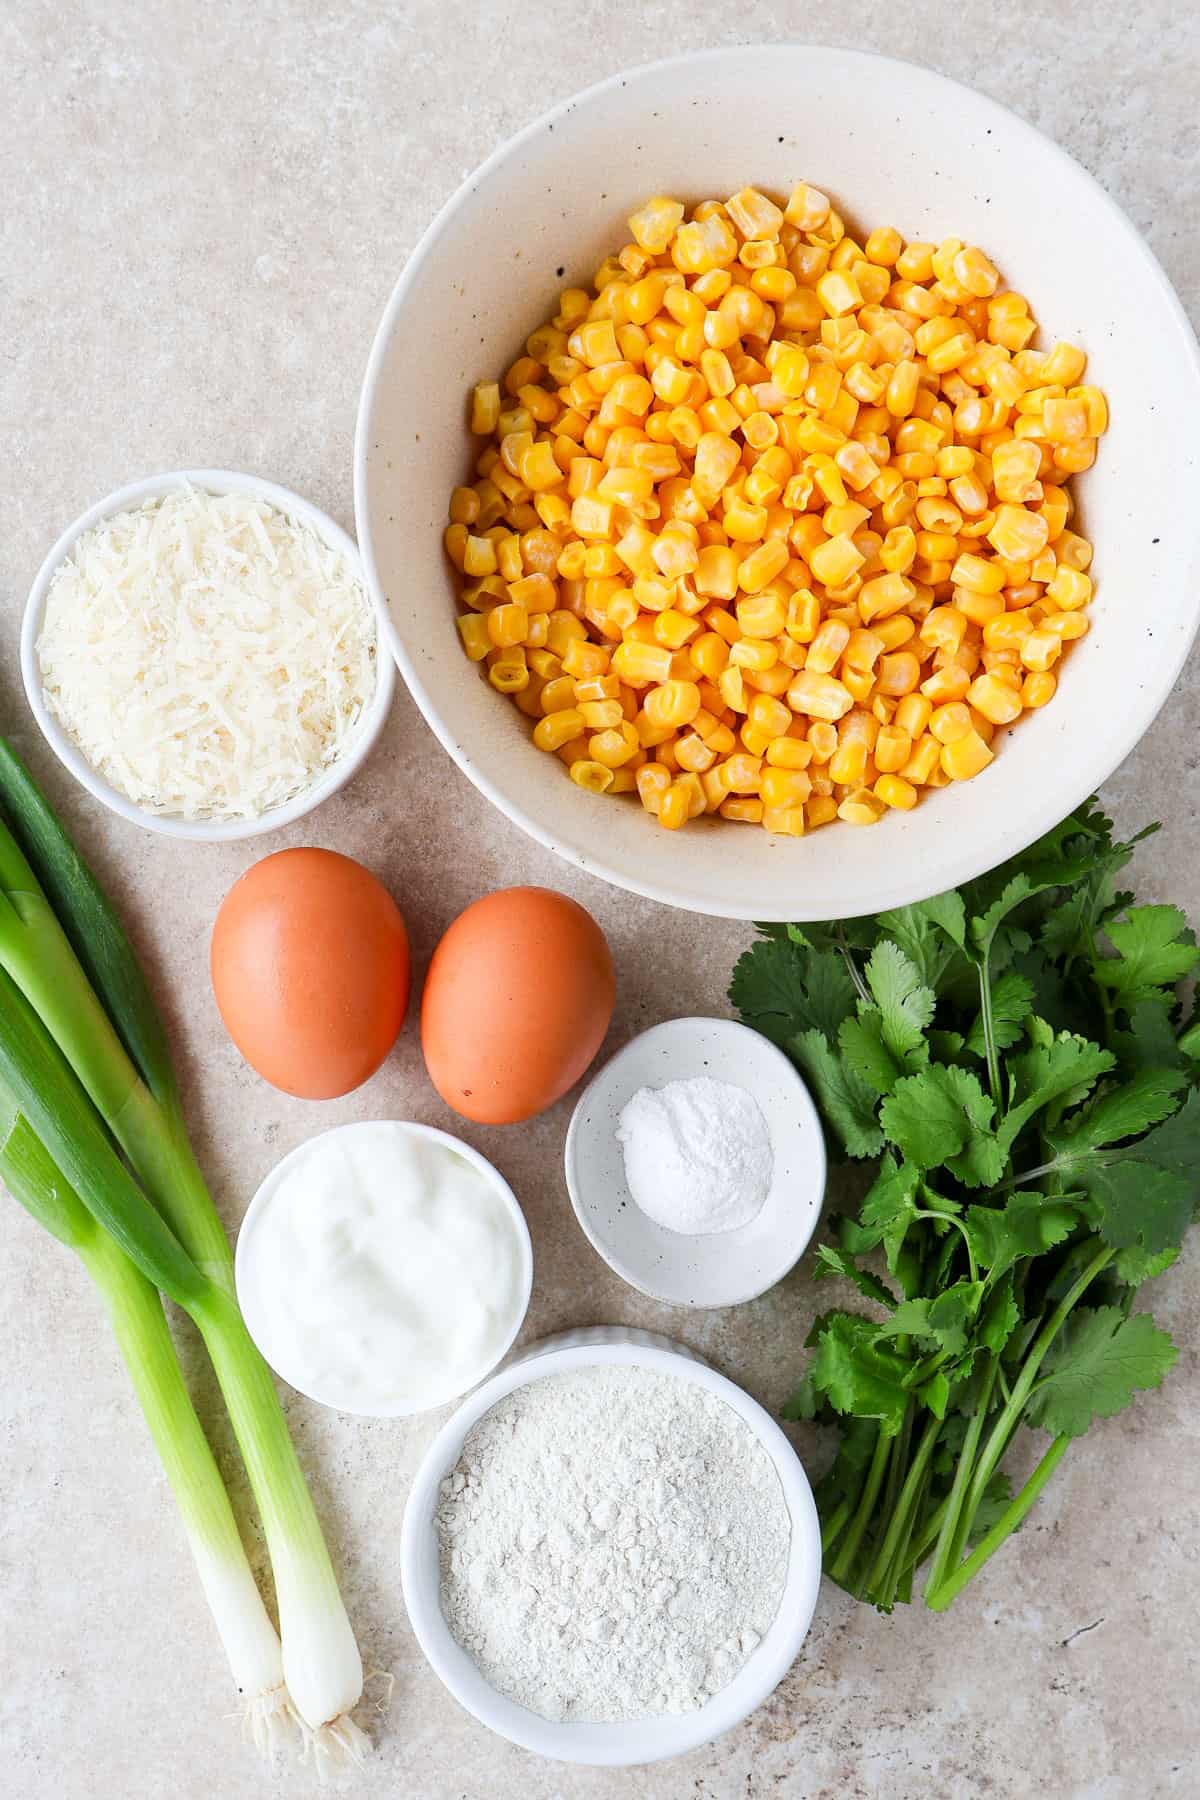
These healthy corn fritters only require 7 basic ingredients.
- Corn: The star of the show! You'll need 2 cups of defrosted or canned sweet corn kernels to make these fritters.
- Spring onions (scallions): We use the white and green parts for a subtle oniony flavour.
- Eggs: Two extra-large lightly beaten eggs are needed to help bind the flour. Use three eggs if using regular-sized eggs.
- Buckwheat flour: This is a gluten-free alternative to wheat flour that adds a nutty flavour and extra protein to the dish.
- Cheddar cheese: Adds a lovely cheesy flavour, but you can substitute it with tasty or even crumbled feta cheese.
- Coriander (cilantro): I used a combination of mint and coriander (cilantro).
- Baking powder: Gives the fritters a light and fluffy texture.
- Liquid: A slash of milk or cold water is needed to help loosen the batter.
- Salt + black pepper: Enhance the overall flavour of the dish
Complete list of ingredients and amounts is located on the recipe card below.
How to make gluten free corn fritters
Combine fritter ingredients: Add the corn, spring onion (scallions), coriander (cilantro), cheese, eggs, buckwheat flour, baking powder, salt, and pepper to a large bowl. Mix well until everything is incorporated.

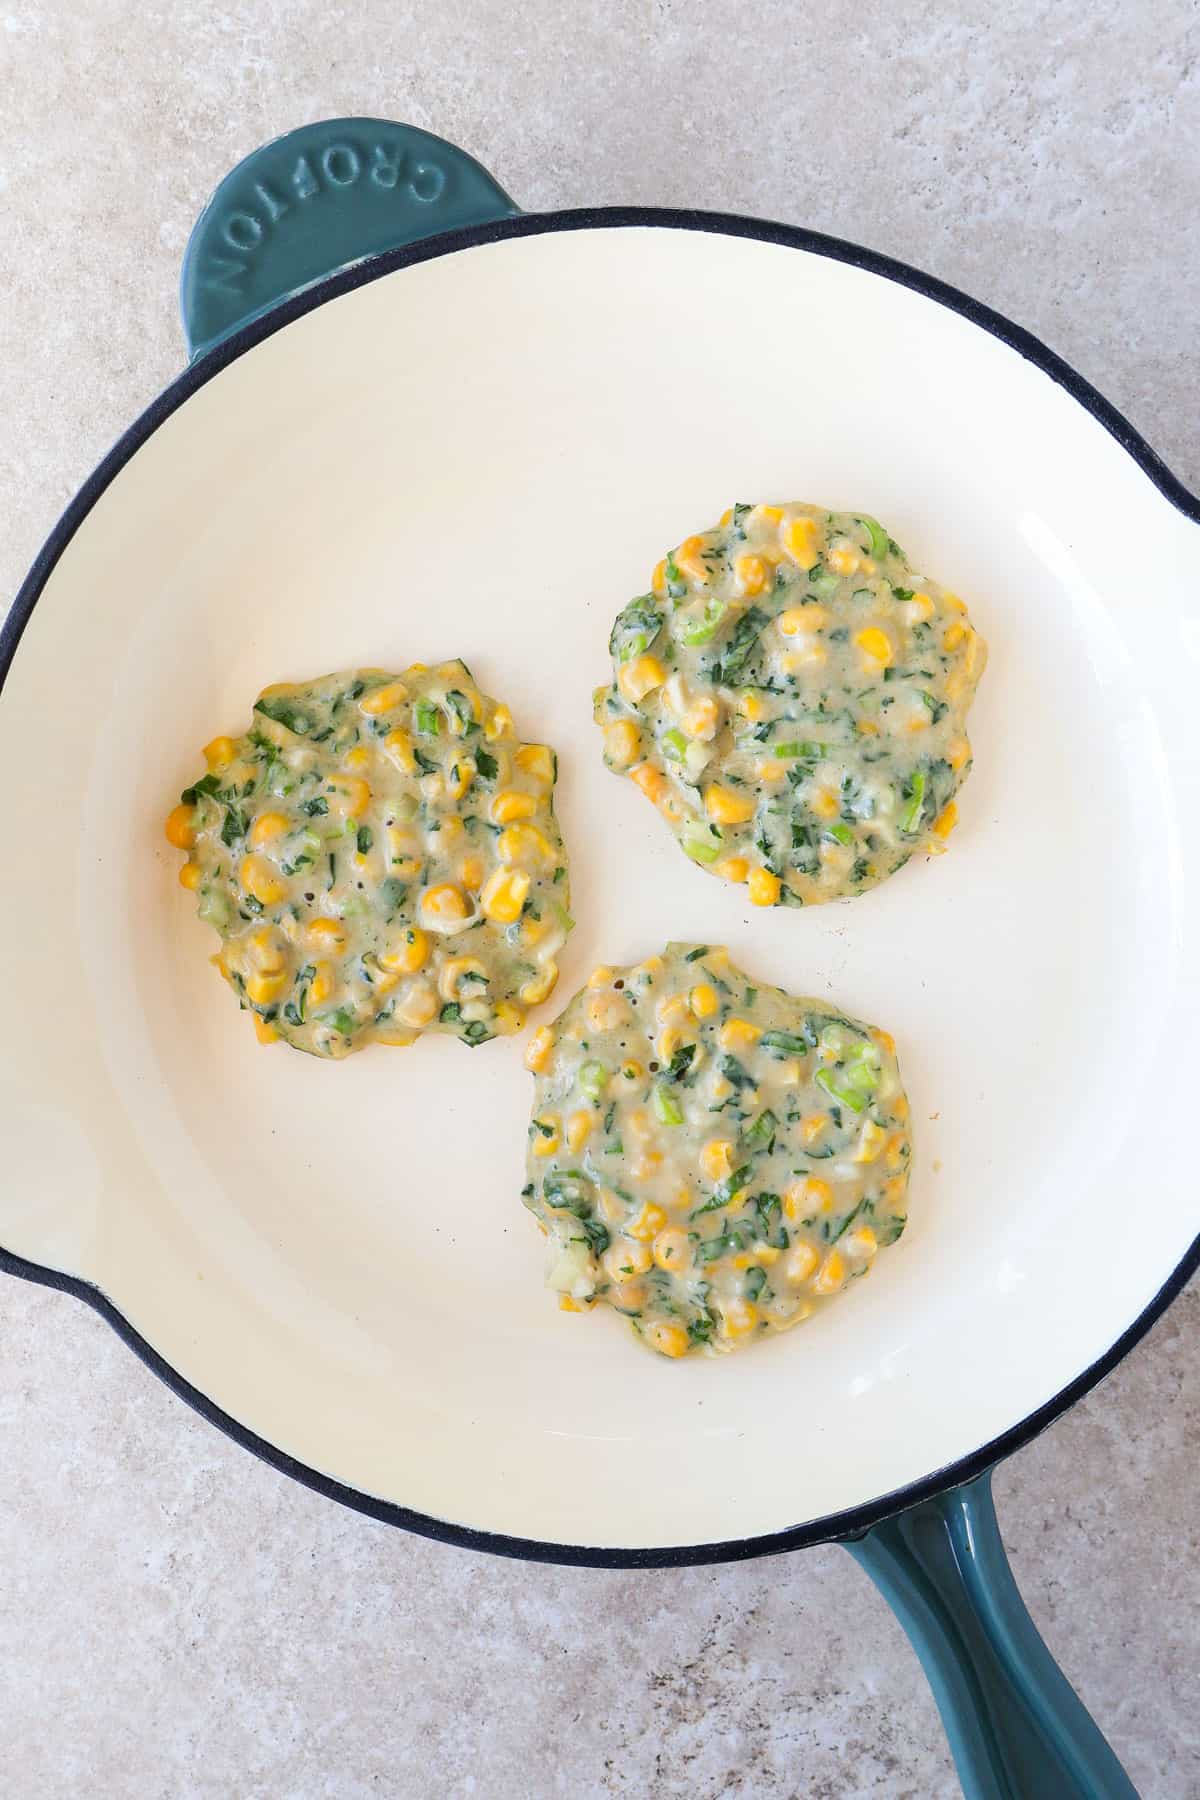
Sauté fritters: Heat a non-stick skillet over medium-high heat and spray it with oil. Spoon ¼ cup batter portions into the pan, leaving space between them. Using a spatula, press down on each fritter to flatten it. Cook each side for 3-4 minutes until lightly golden. Rest on a paper towel, and repeat with the remaining batter, adding more oil if necessary.
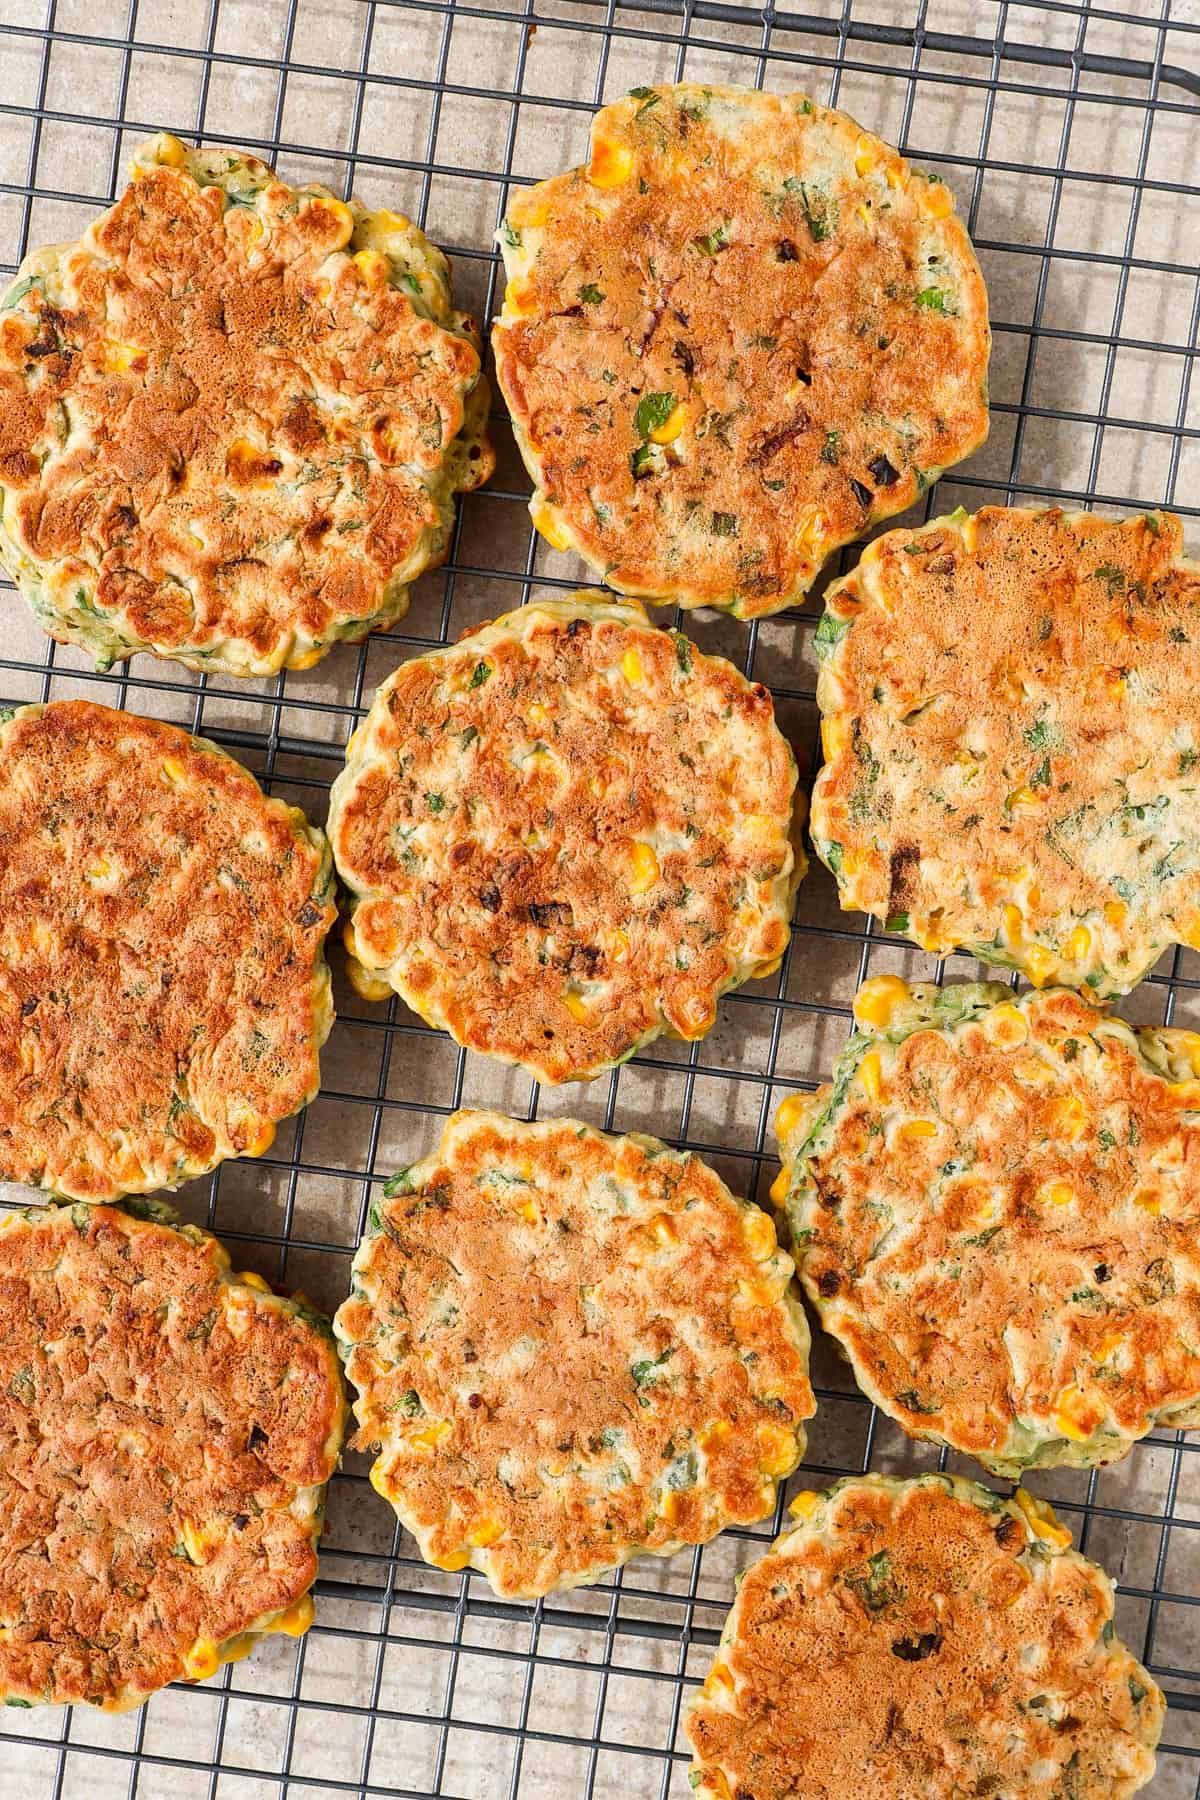
Serve the fritters with a dollop of yogurt, a pinch of paprika, and herbs, then enjoy!
Recipe tips
- Drain the sweet corn. Before mixing it with other ingredients, drain it to avoid adding too much moisture to the batter.
- Don't overcrowd. Evenly space out your fritters so that the pan temperature doesn't drop.
- Mix the batter well. Thoroughly stir to ensure all ingredients are fully incorporated.
- Use a non-stick skillet or cast iron skillet. This prevents the healthy corn fritters from sticking to the pan.
Ways to serve fritters
The beauty of these fritters lies in their versatility. You can enjoy these on their own or as an accompaniment to any meal.
- Serve as an appetiser. If you’re cooking up a much larger dinner, corn fritters will be a great way to get everyone’s taste buds warmed up.
- Serve as a main dish. For a more filling meal, top with poached eggs, bacon, avocado, yoghurt and tomato relish.
- Add a salad. To add a refreshing bite, my Kale & Apple Slaw with Yogurt Dressing, Jerusalem Salad, or Cucumber Peach Salad salad will help round out the flavours.
- With soup: For a light, yet wildly flavourful lunch, alongside a bowl of Dairy Free Tomato Soup or Miso Sweet Potato Pumpkin Soup.

Storing and reheating leftovers:
- To store: Keep them in an airtight container in the fridge for 3 days. Store the sauce separately for up to 5 days.
- Freeze: Use a freezer-safe bag or container for up to 2 months. If stacking, use parchment paper in between.
- Reheat: Thaw the fritters in the fridge overnight or on the counter for 30 minutes. Reheat in the microwave or bake at 180°C/350°F for 10-15 minutes for a crisp texture.
Recipe FAQ
You can swap the buckwheat flour for equal amounts of chickpea flour or almond flour. Adjust the milk as needed.
Yes, you can prepare the batter in advance and refrigerate it for up to 24 hours before cooking the fritters.
Absolutely! While they won't be as crispy, you can bake them at to 220°C /425°F for 12-15 minutes on each side. Just lightly oil the sheet pan and fritters with oil spray or brush.

More fritter recipes to try
Miso Mushroom Fritters (Gluten-Free)
Pumpkin and Zucchini Fritters (Gluten-Free)
If you try this gluten free corn fritters recipe or have a question, please let me know! Leave a comment and rate it below. I love to hear what you think, or any changes you make.
Print
Gluten-Free Corn Fritters
- Total Time: 30 minutes
- Yield: 10 fritters 1x
Description
Healthy gluten free corn fritters made with cheese, herbs, and buckwheat flour are a childhood classic! Serve with yoghurt for a delicious snack or as part of a meal.
Ingredients
- 2 cups corn kernels, frozen defrosted or drained
- 2 spring onions (scallions), sliced
- ⅓ cup chopped coriander (cilantro)
- ½ cup grated cheddar cheese
- 2 extra large eggs
- ¾ cup buckwheat flour or chickpea flour
- 1 teaspoon baking powder
- ½ teaspoon salt
- ¼ teaspooon black pepper
- ¼ cup milk or water
- Olive oil or butter, to cook
- Plain yogurt, paprika + extra herbs to serve
Instructions
- Add the corn, spring onion (scallions), coriander (cilantro), cheese, eggs, buckwheat flour, baking powder, salt, pepper and milk to a large bowl. Mix well until everything is incorporated. Add more milk if needed.
- Heat a non-stick skillet over medium-high heat and spray it with oil. Spoon ¼ cup batter portions into the pan, leaving space between them. Using a spatula, press down on each fritter to flatten it. Cook each side for 3-4 minutes until lightly golden. Rest on a paper towel, and repeat with the remaining batter, adding more oil if necessary.
- Serve the fritters with a dollop of yogurt, a pinch of paprika, and herbs, then enjoy!
Notes
- Store: Keep them in an airtight container in the fridge for 3 days. Store the sauce separately for up to 5 days.
- Freeze: Place in a freezer-safe bag or container for cup to 2 months. If stacking, use parchment paper in between.
- Prep Time: 10 minutes
- Cook Time: 20 minutes
- Category: Side, Snack
- Method: Stovetop
- Cuisine: Australian
Leave a Reply