

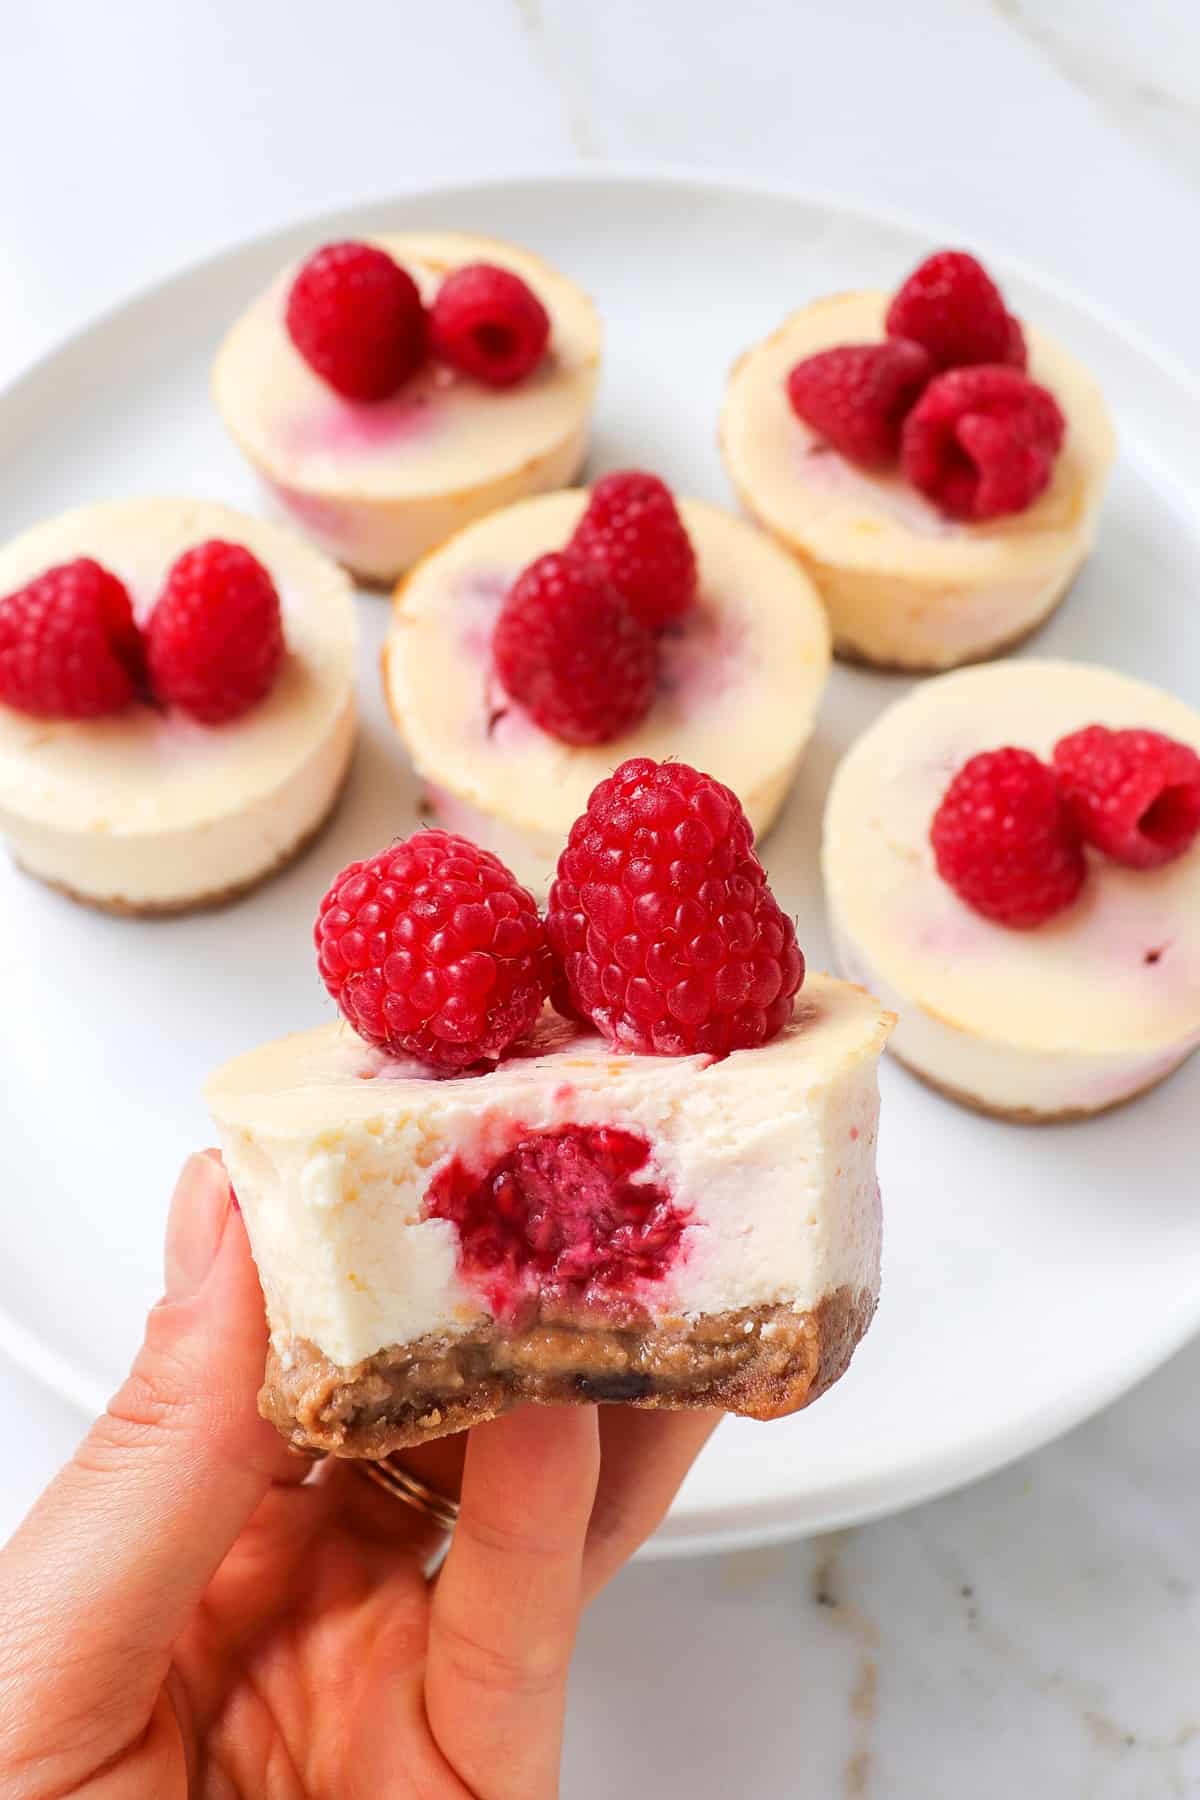
These mini protein cheesecakes are an easy healthy dessert with 7 grams of protein per serve! They have a simple biscuit crust and are made with Greek yogurt and light cream cheese.

I am hooked on this high protein cheesecake recipe guys. They are truly SO good, delicious and easy to make. My boyfriend and I love them so much, we’ve tried a new flavour variation each week. Stay tuned!
The filling is lightened up with fat-free Greek yogurt to add more protein and light cream cheese to make them lower in fat. Plus, they have a simple two-ingredient biscuit crust that melts in your mouth. They’re light, creamy, healthy and taste just like a classic cheesecake.

Ingredients you’ll need
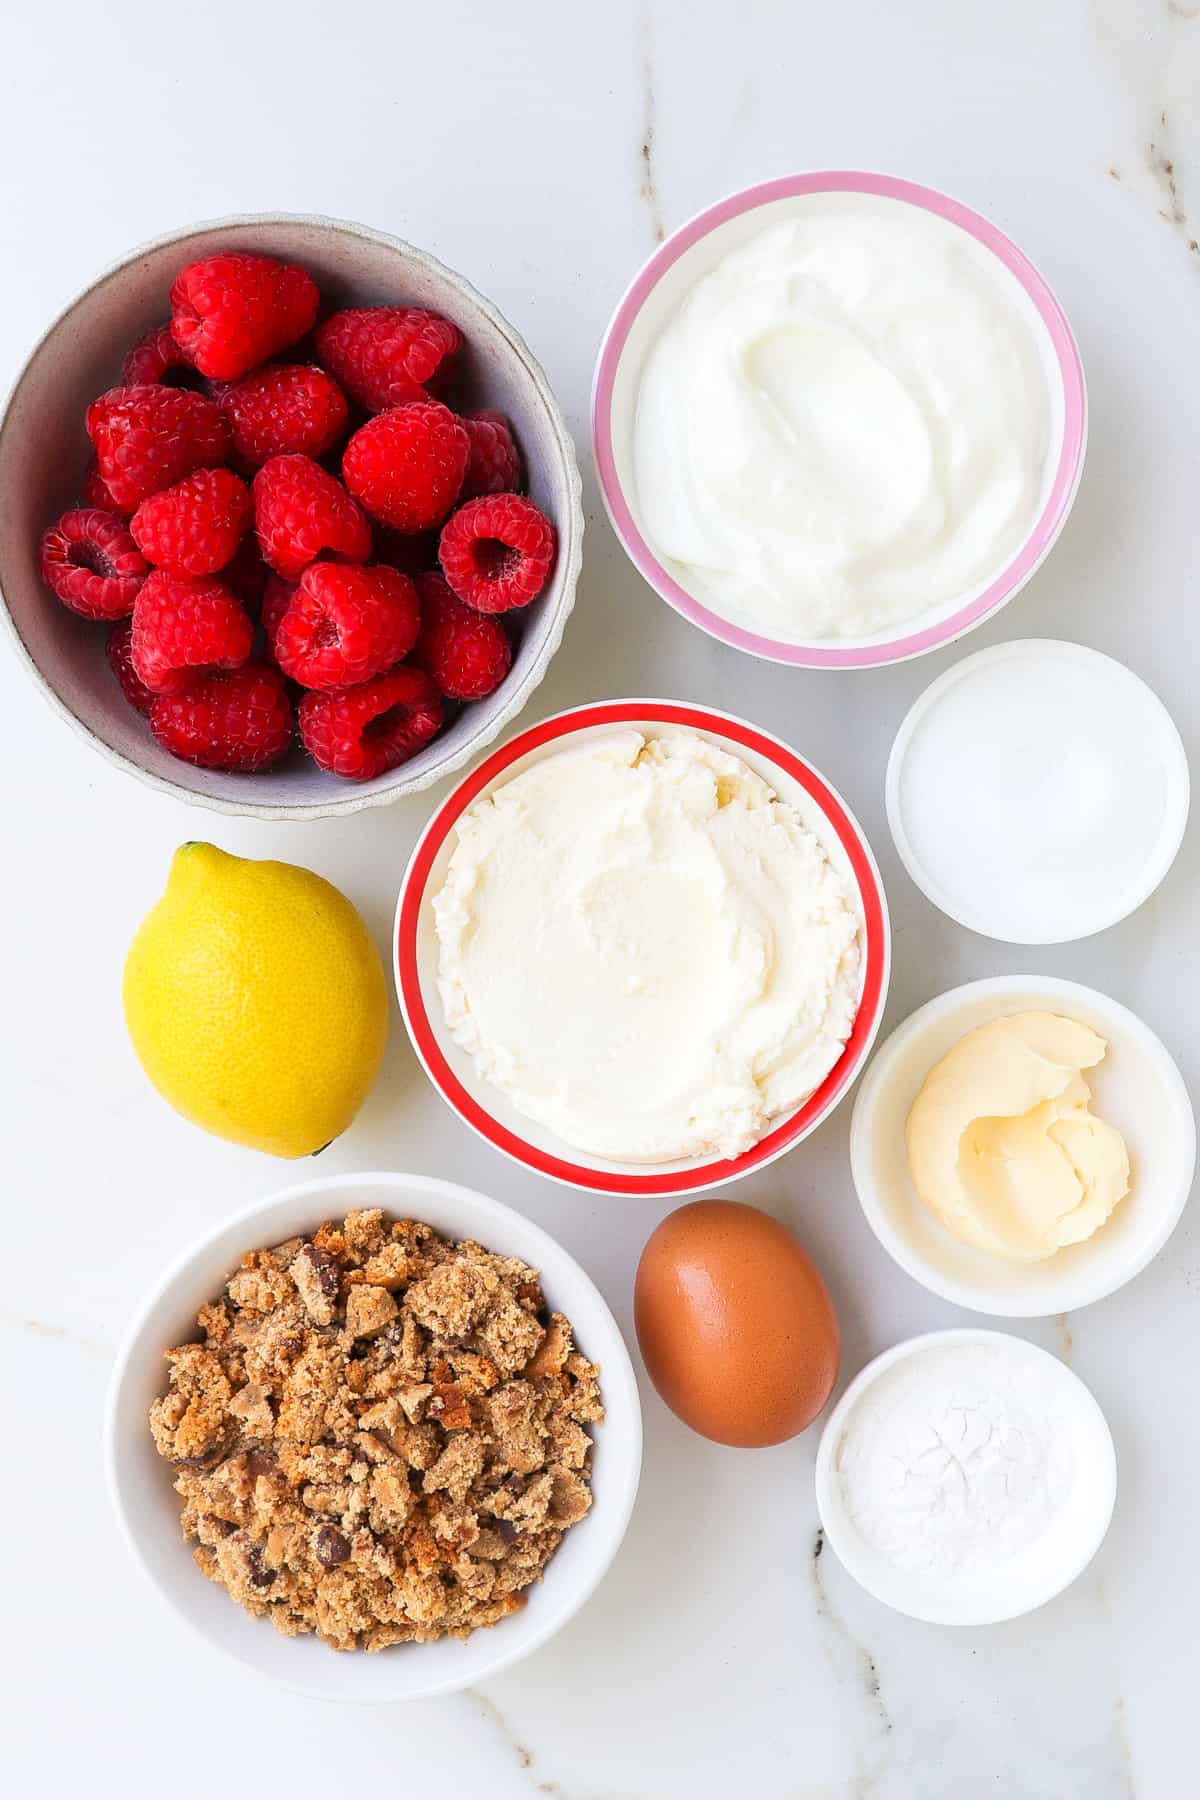
You only need a few ingredients to make this high protein cheesecake recipe, plus your favourite add ins.
- Biscuits: Use your favourite biscuits for the base of these mini cheesecakes. You can also use graham crackers or almond meal instead.
- Butter: Add softened salted butter or coconut oil to form the crust.
- Cream cheese: You need room-temperature cream cheese to make cheesecake filling. You can use regular cream cheese or a reduced-fat one.
- Greek Yogurt: We also add ¾ cup of plain nonfat Greek yoghurt to add extra protein to the filling.
- Sweetener: Use a granulated sweetener; monk fruit sweetener, erythritol or white sugar.
- Egg: You need 1 egg to help hold the cheesecake filling together and help it firm up in the fridge.
- Vanilla Extract
- Lemon: You’ll need the juice and zest for this recipe.
- Starch: Arrowroot starch, tapioca flour, or cornstarch are needed to thicken the filling for perfect consistency.
How to make protein cheesecakes
These high-protein mini cheesecakes are not only healthy, but are so easy to make with just 3 key steps.
Start by preheating your oven to 180°C/ 350°F and line a muffin tin with 6 liners or use a silicon muffin pan.
Crust: Crush the biscuits into a bowl with your hands, then mix the crumbs with melted butter.
Cookie base: Divide the crumb mixture evenly between the muffin cups (about 1.5 tablespoon each) then, use your fingers to flatten the top.
Filling: Add the cream cheese, greek yogurt, egg, vanilla extract, lemon juice, lemon zest, and arrowroot powder to a large bowl. Using a hand mixer, mix on high until smooth for 60 seconds.
Pour + extras: Divide the filling evenly between muffin cups and top each with 3 raspberries if using- push into the filling so they are covered and do not burn.


Bake for 20-22 minutes or until the filling has just set – it should be just firm to touch and not jiggle.
Chill: let them cool for 30 minutes at room temperature before transferring them to the refrigerator. They must chill for at least 3 hours to set properly.
Top with extra fresh berries and enjoy!
Tips
- Use room temperate ingredients to ensure your cheesecake filling is perfectly smooth and has the right texture. If you use cold ingredients, the bake time will increase and the filling may undercook.
- Do not over bake. Make sure you the pull mini cheesecakes out of the oven when the filling has set, and they are not jiggling anymore.
- Cool before serving. You MUST allow the mini cheesecakes to set for at least 3 hours in the fridge before serving. Otherwise the filling will be too soft and liquidy. It is best to allow them chill overnight.
Flavour ideas
- Chocolate: Add 1-2 of tablespoons cocoa powder to the filling mixture when mixing.
- Berry: Add 3-4 raspberries or blueberries to the filling as I’ve done here.
- Classic vanilla: Omit the berries from the recipe.
How to store
- Storage: Store leftovers in airtight container in the refrigerator for up to 5 days. They’re excellent for 24 hours after making
- Freeze: Transfer cold cheesecakes to ziplock bags or containers and freeze for up to 3 months. Thaw in the fridge for a few hours before serving.
Recipe FAQ
These high-protein mini cheesecakes are lighter and healthier than the classic. We add Greek yoghurt to increase the protein and reduce the calories. Traditional recipes use full-fat sour cream. Additionally we use light cream cheese which also lowers the fat. Each cheesecake packs 7 grams of protein per serve.
Yes! To make these mini protein cheesecakes gluten free, simply use gluten free biscuits or almond meal for the crust.
There are 7 grams of protein per mini cheesecake.
After your cheesecakes set in the fridge, transfer them to ziplock bags or containers and freeze for up to 3 months. Thaw in the fridge for a few hours before serving.

More high protein recipes
Single Serve Protein Cookie (Vegan)
3 Ingredient Yogurt Cheesecake Tortilla
If you try this protein cheesecake recipe or have a question, please let me know! Leave a comment and rate it below. I love to hear what you think, or any changes you make.
Print
Mini Protein Cheesecakes
- Total Time: 32 minutes
- Yield: 6 cheesecakes 1x
Description
These mini protein cheesecakes are an easy healthy dessert with 7 grams of protein per serve! They have a simple 2 ingredient crust and are made with geek yogurt and light cream cheese.
Ingredients
Base:
- 100g crushed cookies, biscoff biscuits or almond meal
- 1 tablespoon softened butter or coconut oil
Filling:
- ⅔ cup (150g/5.5oz) non-fat greek yoghurt
- ⅔ cup (150g/ 5.5oz) light cream cheese
- 1 large egg
- 1 tablespoon arrowroot flour or corn flour
- ¼ cup granulated sweetener (monk fruit or brown sugar)
- 1 teaspoon vanilla extract
- 1 tablespoon fresh lemon juice
- 1 teaspoon lemon zest
- 1 cup fresh raspberries or blueberries (optional)
Instructions
- Preheat your oven to 180°C/ 350°F and line a muffin tin with 6 liners or lightly grease a non stick muffin pan.
- Crush the cookies into a bowl with your hands, then mix the crumbs with melted butter.
- Divide the crumb mixture evenly between the muffin cups (about 1.5 tablespoon each) then, use your fingers to flatten the top.
- Add the cream cheese, greek yogurt, egg, vanilla extract, lemon juice, lemon zest, and arrowroot powder to a large bowl. Using a hand mixer, mix on high until smooth for 60 seconds.
- Divide the filling evenly between muffin cups and top each with 3 raspberries if using- push into the filling so they are covered and do not burn.
- Bake for 20-22 minutes or until the filling has just set – it should be just firm to touch and not jiggle.
- Let them cool for 30 minutes at room temperature before transferring them to the refrigerator. They must chill for at least 3 hours to set properly.
- Top with extra fresh berries and enjoy!
Notes
- Store cheesecakes in airtight container in the refrigerator for up to 5 days.
- Freeze: Transfer cold cheesecakes to ziplock bags or containers and freeze for up to 3 months. Thaw in the fridge for a few hours before serving.
- Prep Time: 10 minutes
- Cook Time: 22 minutes
- Category: Dessert
- Method: Bake
- Cuisine: American
Nutrition
- Serving Size: 1 cheesecake
- Calories: 167
- Fat: 9.1
- Carbohydrates: 24.6g
- Protein: 6.8g
Leave a Reply